In previous blog we have seen how to install and create a new VM in Oracle VirtualBox, if you have not read it, you can check Setup VM for DB2 LUW installation post. In this post we will install Red Hat Enterprise Linux (RHEL) 8.2 on Oracle VirtualBox VM and configure RHEL for DB2 installation.
Step1: Download RHEL 8.2
You can download RHEL from Red Hat Linux website. You would need a Red Hat account to download RHEL. If you do not have a Red Hat account you can create free of cost account from Red Hat Account. RHEL 8.2 DVD ISO file size is 8 GB. As part of Red Hat Developer program you can download any RHEL version which is currently supported by Red Hat including version 5 and 6. This RHEL product must only be used for development and not for production.
Step2: Configure VM to boot RHEL 8.2 installation DVD
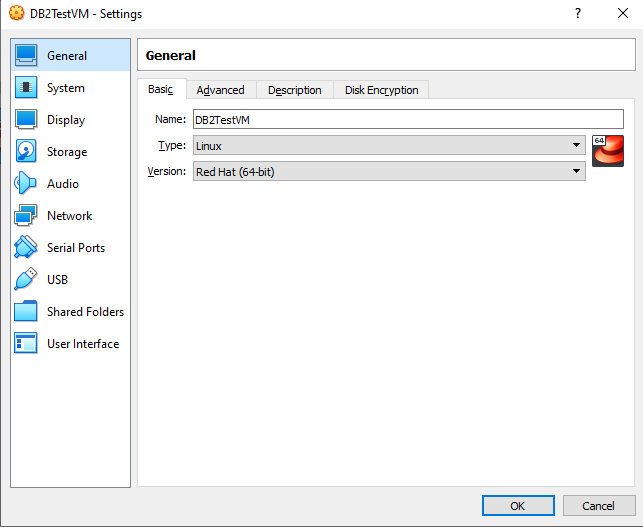
Open Oracle VirtualBox, select your VM and click on Settings button
In Settings click on Storage button, under Controller : IDE select Empty and click on disk icon present at the end of Optical Drive : field. Click on Choose a disk file... to get an option to browse for .iso file.

In browse window select your .iso file and click on open.
You would see your .iso file under Controller : IDE. Click on OK button.
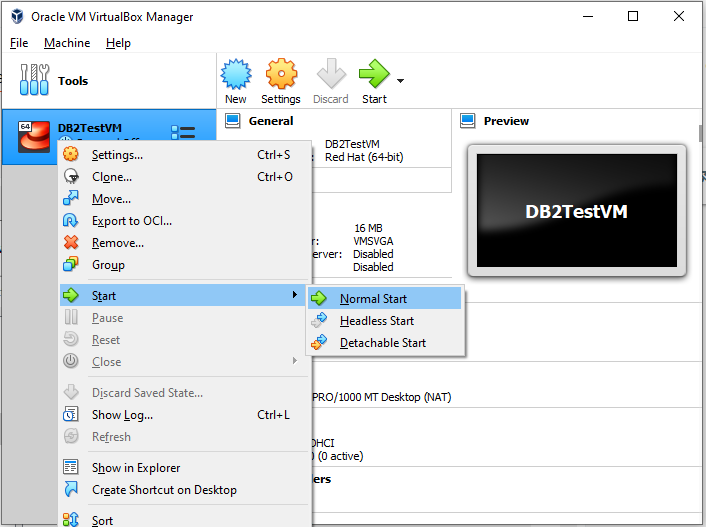
Right click on your VM and select Start and then select Normal Start to boot your VM.
Step3: Install RHEL 8.2 on your VM
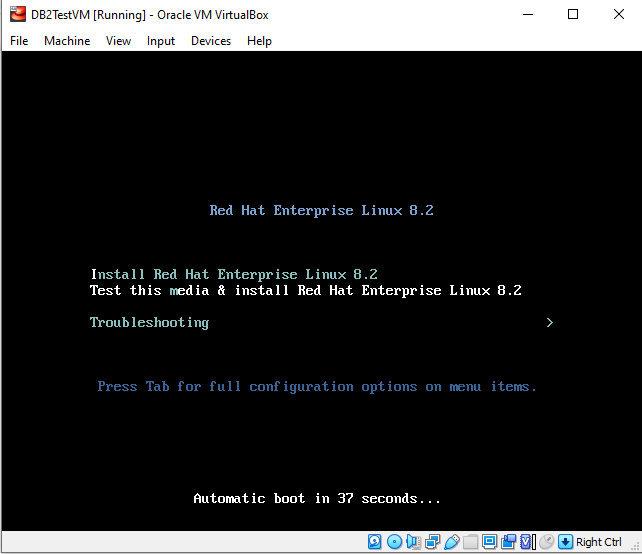
Once VM boots you will see Red Hat Enterprise Linux 8.2 installation screen. On this screen with the help of arrow key on your keyboard select Install Red Hat Enterprise Linux 8.2 and hit Enter Key on your keyboard.
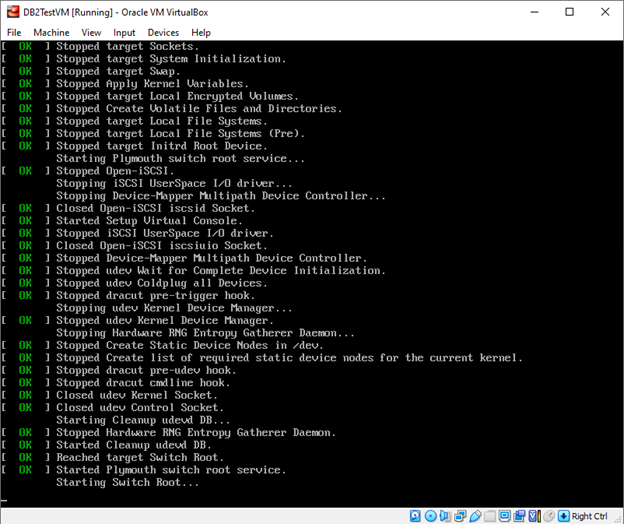
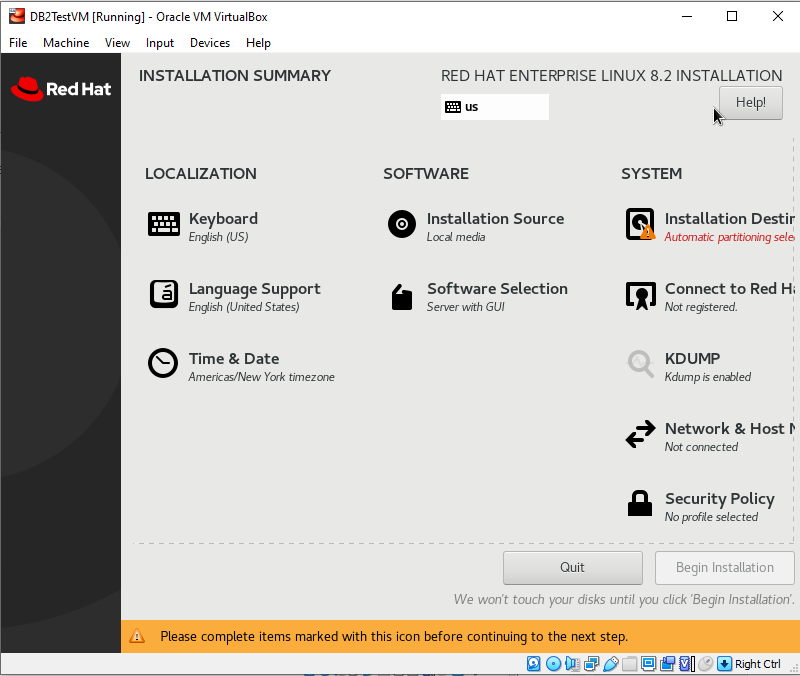
You would get similar screen indicating Stop and Start of process, after couple of minutes you would get a GUI screen.
In this screen you can modify keyboard layout and language for installation, by default keyboard layout is US and language is English (United States).
Click on Continue button.
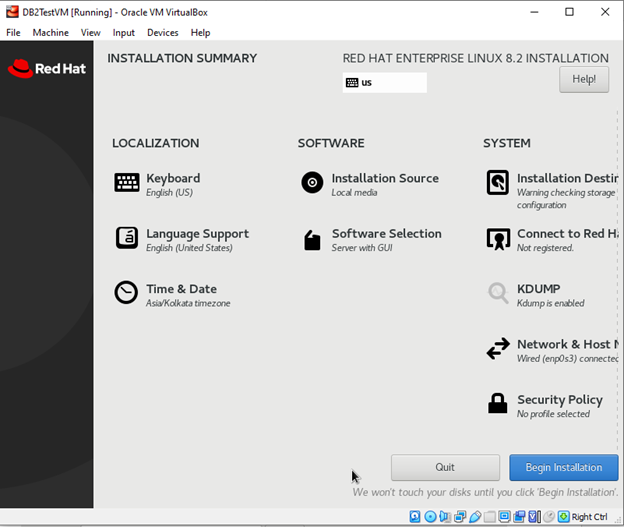
Click on
Time & Date to update timezone and correct date & time. You should also enable
Network Time by default it is disable.
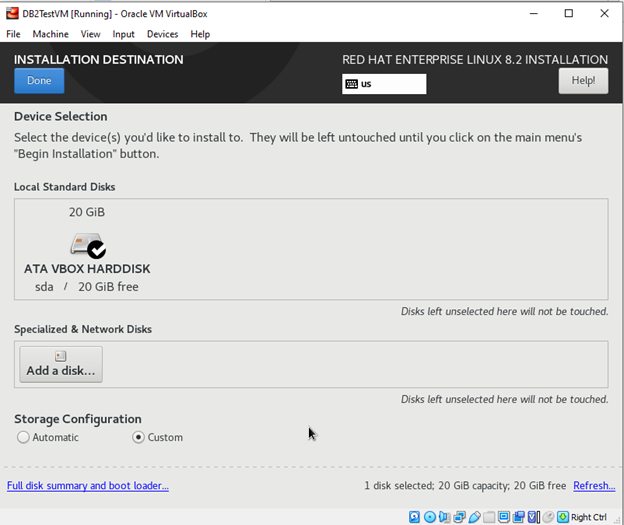
Click on Installation Destination to setup disk partition.
Select Storage Configuration as Custom, click on Full disk summary and boot loader... and select disk as boot disk.
Click on Done button.
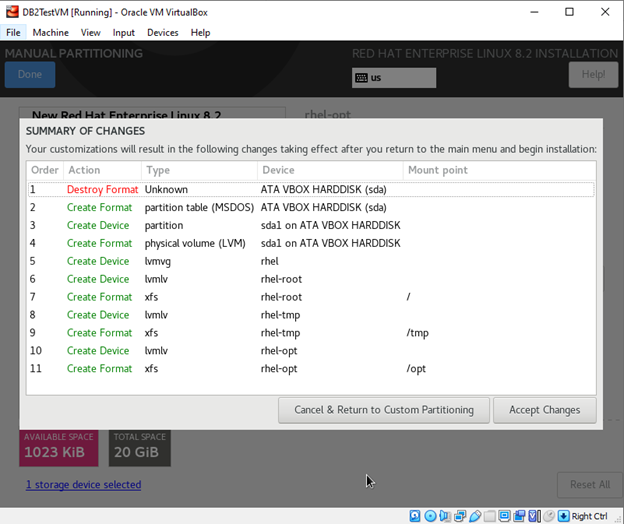
Click on + button to create new partition. You can create 3 partition namely / with 10240 MB size, /opt with 5120 MB size and /tmp with 5120 MB size.
Click on Done button.
Click on Accept Changes
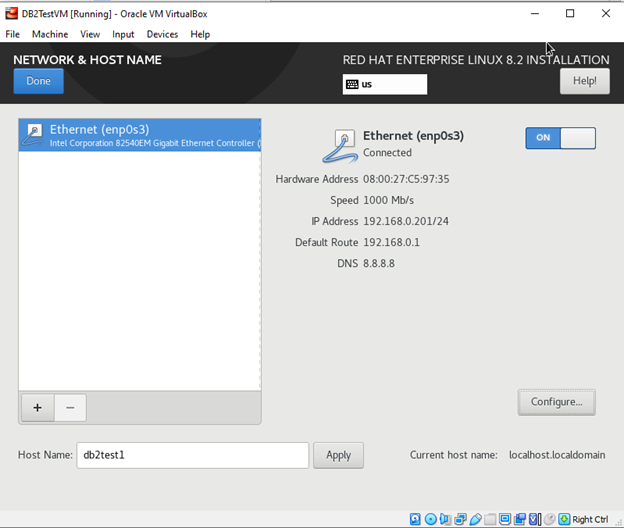
Click on Network & Host Name to configure hostname and network configuration.
You can update Host Name by editing Host Name field.
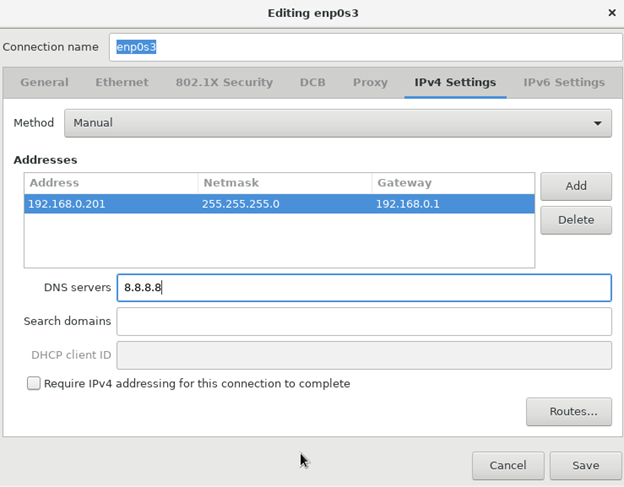
Click on Configure... button for network configuration.
Click on IPv4 Settings, select Method as Manual instead of Automatic. You should have static IP for you VM. In Addresses field update new static Address, Netmask and Gateway. You can also update DNS servers.
Click on Save.
Click on OFF button to change it to ON.
Click on Done button.
Click on Begin Installation.
Click on Root Password to set password for Root user.
Update your
Root Password, ensure that Root Password is strong.
Click on Done button.
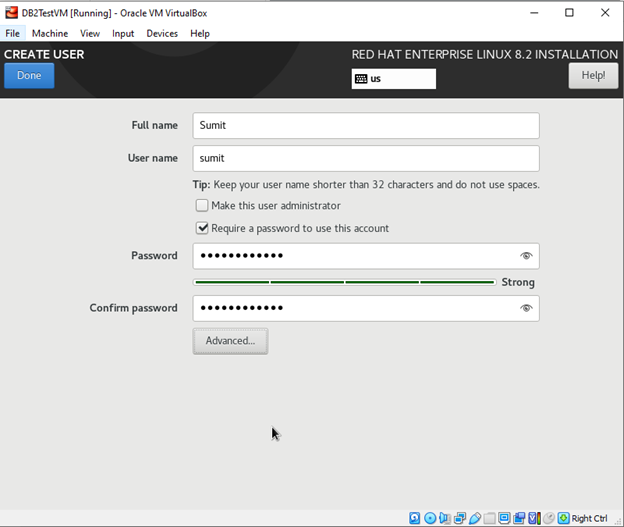
Click on User Creation button to create additional user.
Update
Full Name, User name and set password for your new user.
Click on Done
In this screen you will see progress of RHEL installation. It might take up-to 30 to 45 mins.
On successful installation completion you would get above screen.
Click on Reboot to reboot your VM.
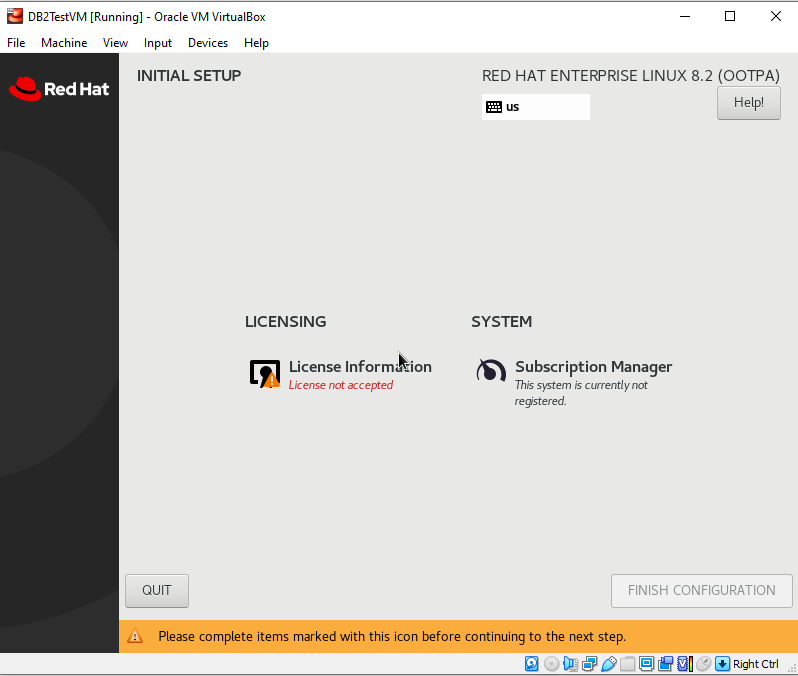
After Reboot you get Initial Setup screen
Click on License Information to accept License agreement.
Click on FINISH CONFIGURATION button.
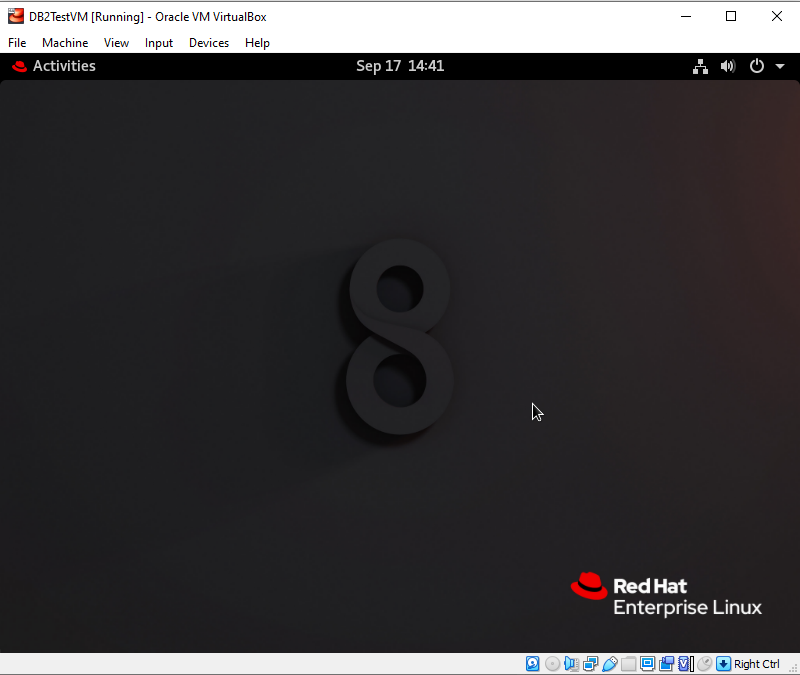
After clicking on FINISH CONFIGURATION, your VM will restart. During restart do not press any key, wait till RHEL boots and you get below login screen.
At this point you can login to VM using login screen. Connection to VM using PuTTY will not work as RHEL firewall will be blocking all traffic.
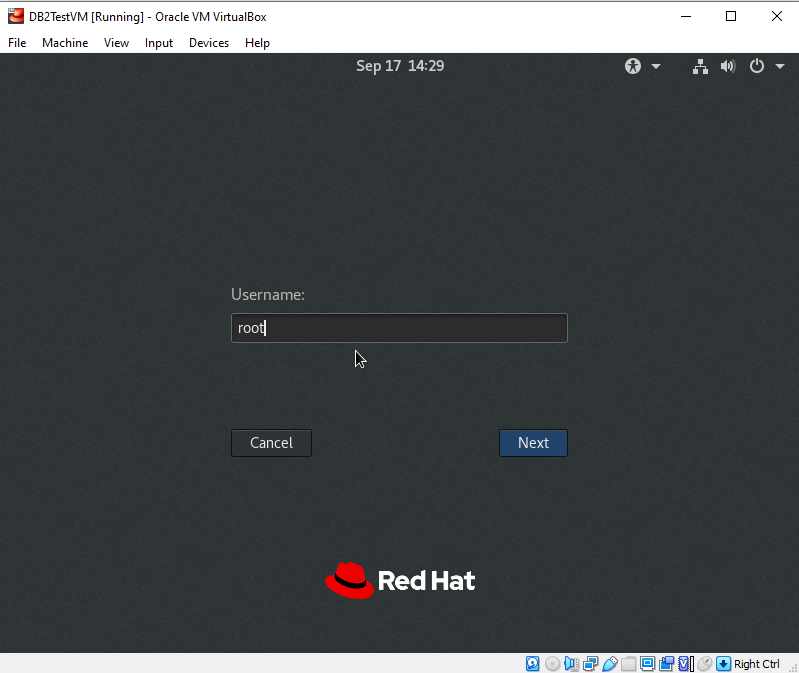
On this screen you can click on Not listed? to switch your login as root and connect as root.
Enter root in Username: field and click on Next button
Enter password for root user in Password: field and click on Sign In button.
Step4: Configure RHEL 8.2 for DB2 installation.
Now we have RHEL installed on our VM but it is not ready for DB2 installation. We need to complete additional configuration to make RHEL read for DB2 installation. As part of additional configuration we will disable RHEL firewall, configure /etc/hosts for name resolution, configure RHEL repository and install prerequisite packages.
Disable RHEL firewall:
Firewall needs to be disable to allow traffic in/out of your VM.
To disable firewall open terminal after logging into VM.
Click on Activities, click on Terminal icon to open terminal
After opening terminal check if your VM IP and your gateway is reachable using ping command.
RHEL firewall is blocking all incoming, outgoing traffic hence ping to gateway IP fails. We will use below commands to stop, disable, firewall service and check firewall status.
Stop Firewall service : systemctl stop firewalld.service
Disable Firewall service : systemctl disable firewalld.service
Check Firewall service status : systemctl status firewalld.service
After disabling firewall service ping your Gateway IP and DNS server (8.8.8.8) to check connectivity. You can also ping your VM IP from your local system.
You can try connecting to VM using PuTTY.
Configure /etc/hosts for hostname resolution
In /etc/hosts we need to add entry of hostname and ipaddress. You can use VI or any other text editor to edit /etc/hosts file.
Configure RHEL repository
Before making configuration changes you need to ensure that RHEL DVD ISO is mapped to your VM. In your VM click on Machine from Menu bar and click on Settings. Under Storage you would see RHEL DVD ISO file is mapped. If .iso file is not mapped check Step2 for instruction to map .iso file.
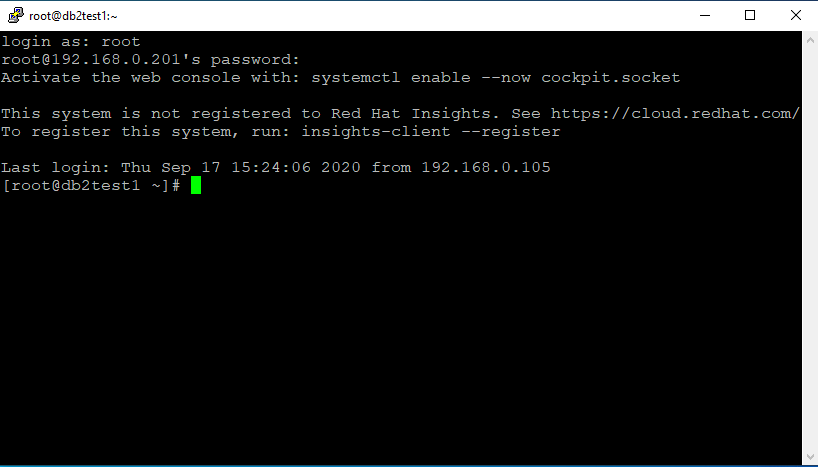
Login to your VM using Putty and run below command to check repository list.
yum repolist all
We will map an offline repository to our RHEL installation. for that first we need to mount our RHEL DVD in our VM.
mount /dev/sr0 /mnt
Use df -h /mnt command to view newly mounted FS.
Check if media.repo file exists.
ls -ld /mnt/media.repo
Check if /etc/yum.repos.d directory exists.
ls -ld /etc/yum.repos.d
Copy /mnt/media.repo to /etc/yum.repos.d
cp /mnt/media.repo /etc/yum.repos.d/rhel8dvd.repo
Change permission on file /etc/yum.repos.d/rhel8dvd.repo
chmod 644 /etc/yum.repos.d/rhel8dvd.repo
Edit /etc/yum.repos.d/rhel8dvd.repo to add below content
[InstallMedia-BaseOS]
name=Red Hat Enterprise Linux 8 - BaseOS
metadata_expire=-1
gpgcheck=1
enabled=1
baseurl=file:///mnt/BaseOS/
gpgkey=file:///etc/pki/rpm-gpg/RPM-GPG-KEY-redhat-release
[InstallMedia-AppStream]
name=Red Hat Enterprise Linux 8 - AppStream
metadata_expire=-1
gpgcheck=1
enabled=1
baseurl=file:///mnt/AppStream/
gpgkey=file:///etc/pki/rpm-gpg/RPM-GPG-KEY-redhat-release
Use below command to clean subscription manager.
yum clean all
subscription-manager clean
Run below command to check packages in repository
yum --noplugins list
Check repository list and status
yum repolist all
If you have observed while logging to VM using PuTTY or directly in VM screen, also in above commands we are getting message This system is not registered to Red Hat Subscription Management. You can use subscription-manager to register. If you want you can disable this message by editing /etc/yum/pluginconf.d/subscription-manager.conf file. Update enabled to 0 from 1.
After updating /etc/yum/pluginconf.d/subscription-manager.conf , we are not getting the message.
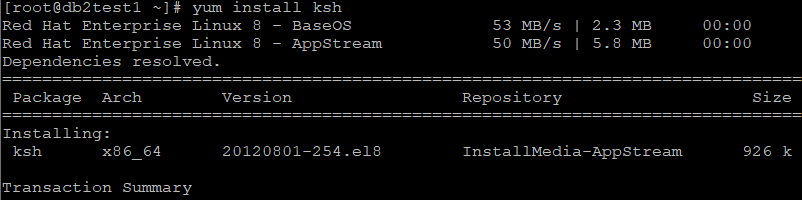
Install DB2 prerequisite packages.
We need to install below 3 packages to meet all DB2 prerequisite
yum install ksh
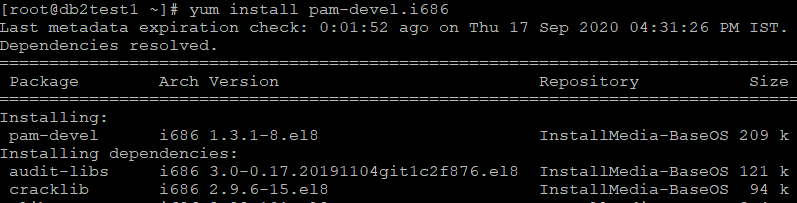
yum install pam-devel.i686
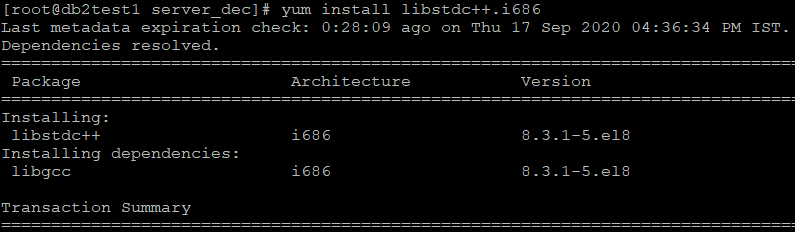
yum install libstdc++.i686
yum install perl-Sys-Syslog (required for TSAMP)
yum install python3-dnf-plugin-versionlock (required for PACEMAKER)
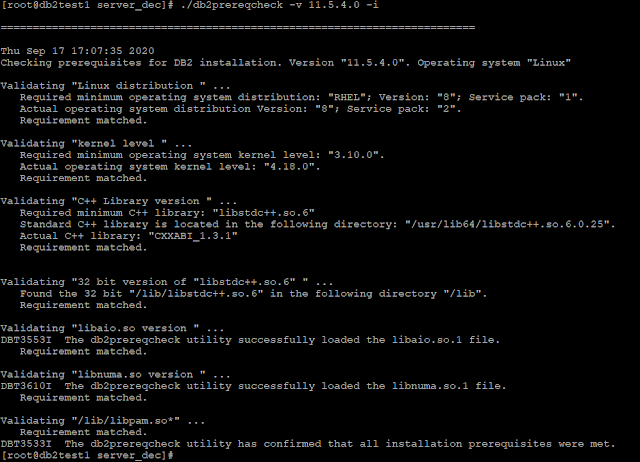
Step5: DB2 prerequisite check and DB2 Installation.
./db2prereqcheck -v 11.5.4.0 -i


Amazing info!!
ReplyDeleteThanks a lot.
Very helpful...
ReplyDelete@author When I try to download Linux after creating the account it shows access denied.
ReplyDeleteWhen I click on download it goes on a page where it says we need a little more information and after submitting that form it show error 'Access denied'.
Access Denied
You don't have permission to access "http://sso.redhat.com/AK_PM_VPATH0/" on this server.
Reference #18.2a210f17.1601142596.7643c75
You can try accessing URL in Google Chrome Incognito mode or Edge InPrivate window. If it still does not work, then try directly accessing url https://developers.redhat.com/products/rhel/download
DeleteVery helpful
ReplyDeleteThank you....